
Docker Desktop has long been the go-to recommendation for hosting self-hosted automation tools. However, configuring Docker on Windows 11 can turn into a technical headache when nested virtualization, Hyper-V errors, or WSL2 corruptions get in the way.
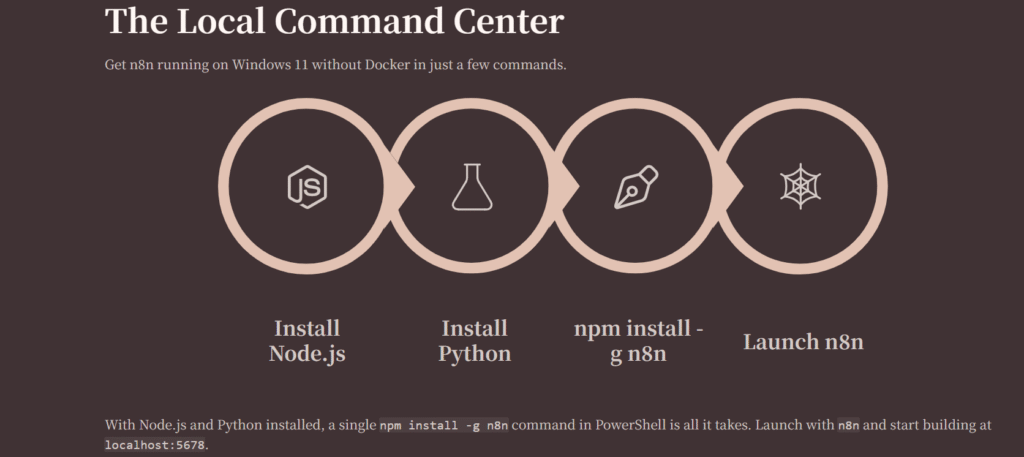
The good news? n8n is built entirely on Node.js. You do not need Docker, Hyper-V, or a Linux virtual machine to run it locally. You can install it directly onto your Windows host OS like any other command-line tool.
This comprehensive guide will walk you through installing n8n natively on Windows 11, building your first automated workflow, and deploying it to the cloud via Render for free — complete with a clever workaround to keep Render’s free tier server awake 24/7.
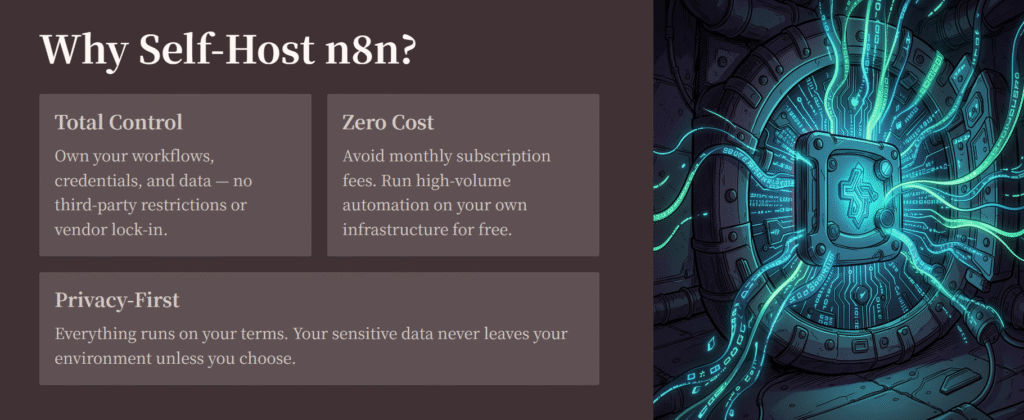
Why Skip Docker?
Docker is powerful, but it adds complexity.
For beginners, Docker usually means:
- Installing Docker Desktop
- Enabling WSL
- Learning containers
- Managing images and volumes
- Higher RAM usage
Using Node.js directly gives you:
- Faster setup
- Lower resource usage
- Easier debugging
- More control over files and configurations
If your goal is learning or lightweight automation, Node.js installation is often simpler.
Install Node.js LTS
n8n requires Node.js to execute. We will use the Long-Term Support (LTS) version 22 for stability.
- Go to the official Node.js Download Page.
- Download the Windows Installer (.msi) for the Node 22 LTS version.
- Run the installer. Accept the license agreement and click Next through the defaults.
- Crucial: Ensure the “Node.js runtime” and “npm package manager” options are selected to be installed on your local hard drive.
- Finish the installation.
To verify that Node.js and npm (Node Package Manager) are correctly configured in your system environment variables, open PowerShell or Command Prompt and type:
Bash
node -v
npm -v
You should see version numbers returned for both commands (e.g., v22.x.x or higher).
Install the n8n Package Globally
With npm ready, you can install n8n directly into your global Node directory. Open an Administrator PowerShell session (Right-click Start -> Terminal (Admin) or PowerShell (Admin)) and run:
npm install -g n8n
Note: The -g flag tells npm to install it globally so you can trigger the n8n command from any directory on your computer.
Install Python
Some dependencies require Python during build.
Install Python 3 and enable:
Add Python to PATH or Download from Microsoft Store
Verify:
python --version
Launch n8n Natively
To start your local self-hosted instance, simply type:
n8n
The terminal will boot up the n8n backend engine. Once initialized, look for the success message indicating your local URL:
n8n ready.
Editor is accessible via: http://localhost:5678/
Keep this terminal window open. Open your web browser, navigate to http://localhost:5678/, and set up your owner account credentials.
Building a Simple Local Test Workflow
Before pushing to the cloud, let’s build a lightweight workflow to ensure your local execution engine is functioning perfectly. We will create a workflow that checks the current time and logs a custom message.
Step 1: Create a Trigger
- Inside your new n8n dashboard, click Add first step or click the
+icon in the canvas. - Search for Schedule Trigger (this functions like a local cron job).
- Set the interval to Every Minute or Every Hour for testing.
Step 2: Add an Action Node
- Drag a line from the Schedule Trigger node to open the node creation menu.
- Search for the Code node.
- Select JavaScript as the language mode.
- Replace the default snippet with a clean, simple object mapping:
return [
  {
    json: {
      status: "Success",
      message: "n8n is running flawlessly on Windows 11 without Docker!",
      timestamp: new Date().toISOString()
    }
  }
];
Step 3: Test and Activate
- Click Execute Workflow at the bottom of the screen.
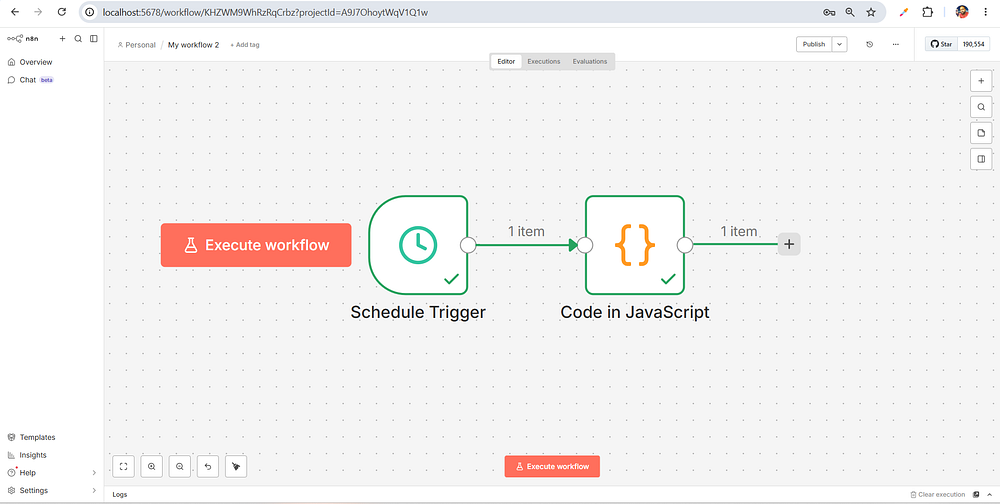
2. You will see green checkmarks appear over both nodes. Click the Code node to inspect the output data and verify your success message.

Deploying n8n to Render (Free Tier)
Now that you have mastered n8n locally, you don’t want to leave your Windows machine running 24/7 just to execute automations. We can offload this to Render, a powerful cloud platform that offers a free tier.
While we are avoiding Docker on our local Windows machine, Render natively uses Docker behind the scenes to spin up web services. The beautiful part? Render reads a pre-configured Docker blueprint file and builds it automatically. You don’t need Docker installed on your computer to deploy it there.
Connect and Configure on Render
- Go to Render and sign up using your GitHub account.
- From your Render dashboard, click New + and select Web Service.
- Select Existing Image option.
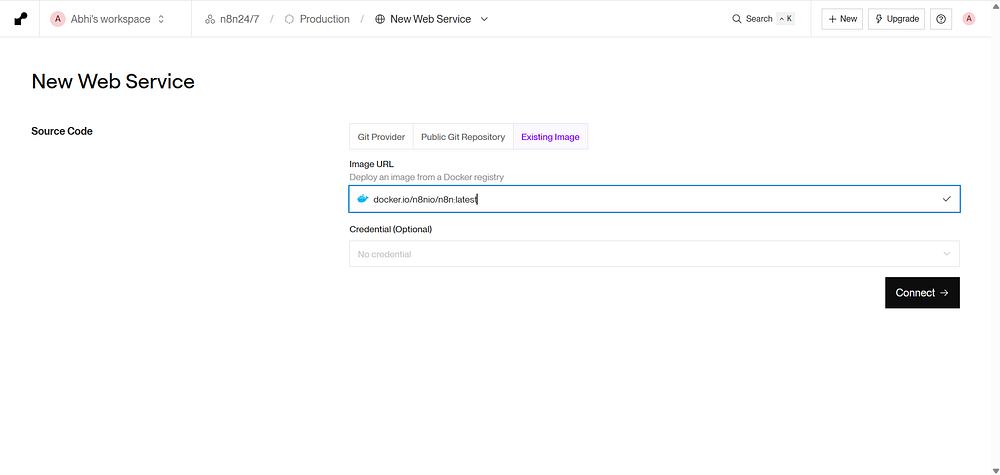
Image URL :- docker.io/n8nio/n8n:latest
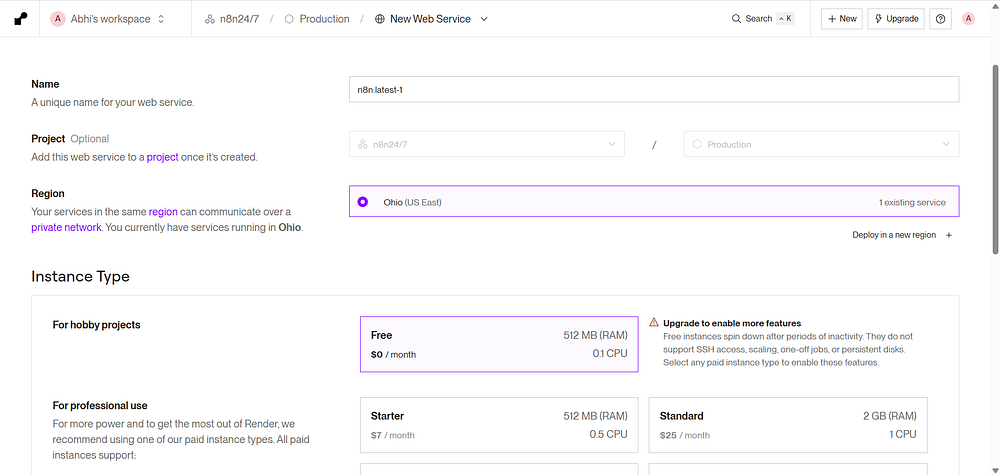
Click on Deploy Web Service. Render will start service perform necessary steps, download the n8n package, and provide you with a live public URL (e.g., https://my-n8n-instance.onrender.com).

Keeping Render Active 24/7 (Bypassing the Free-Tier Spin Down)
The Problem: Render’s free tier sleeps after 15 minutes of inactivity, causing your workflows to stop.
The Solution: Use a free external cron job service to ping your n8n URL regularly, keeping it awake 24/7.
Render’s free tier has an auto-sleep feature: If your web service does not receive any inbound web traffic for 15 minutes, it spins down to a suspended state. When an automation needs to run, it takes over 30 seconds for the server to wake up, causing delayed runs or timed-out webhooks.
To bypass this without paying a cent, we can use an external, cloud-hosted cron service to send a “ping” to our n8n instance every 10–14 minutes, keeping it perpetually awake.
Using Cron-Job.org (Recommended)
Step 1: Create Account
- Go to cron-job.org
- Click “Sign up” (free)
- Verify your email
Step 2: Create New Cron Job
- Click “Create new cronjob”
- Configure:

Step 3: Save and Activate
Click “Create” and ensure the cron job is active
What happens:
- Every 5 minutes, cron-job.org pings your n8n URL
- Render sees activity and keeps your service awake
- Your workflows run 24/7 without interruption
We also have other options available, such as UptimeRobot.
Migration from Local to Render
Step 1: Export Workflows Locally
- Open local n8n (
http://localhost:5678) - Open each workflow
- Click “…” → “Export or Download”
- Save as
.jsonfiles
Step 2: Import to Render n8n
- Open Render n8n (
https://your-app.onrender.com) - Click “Workflow” → “Import”
- Upload JSON files
- Reconnect credentials (API keys are not exported for security)
Conclusion
Overall, running n8n locally on Windows with Node.js while deploying to a remote server using Docker creates a smoother and more practical workflow. It avoids the headaches of local virtualization, keeps development lightweight, and still gives you a stable production setup in the cloud. By separating local development from deployment, you get a setup that’s easier to manage, more flexible, and better suited for day-to-day work — without needing Docker installed locally.